Monday, February 27, 2012

DIY Birdcage Pillows


So it's been a month.  Whoops.  In all honesty, I've been doing a lot of baking, and not a lot of sewing, but this project was the most fun I've had in awhile.

Again, I can't have a project without a ridiculous back story, so here goes:
I finished my kitchen...well, finished is a strong word.  For now, my kitchen makes me happy.  I cannot however speak to how it will make me feel next month, or really next week.  Anyway, with my kitchen "done" I decided I no longer was happy with my bedroom.  Originally, I was going to just change up my bedding so that it still matched my furniture...BUT then I found colors I liked more and paint styles I wanted to try, so you get the idea.  The whole thing's getting changed.  These pillows are fun, bright accent.

DIY Birdcage Pillows

In my quest for inspiration for my "new" bedroom, I found these pillows from Pottery Barn, which were $29 per pillow cover.  Way out of my budget.

Bird Cage Pillow Covers

I decided to make them.

I bought:
White cotton fabric
Fabric paint (I used Tulip Soft Fabric Paint in matte)
Some decent paintbrushes (It's been awhile since I did any detail painting)

I already had on hand:
Coordinating fabrics and trims
Pillow forms
Wax paper
Painter's tape

You'll also need:
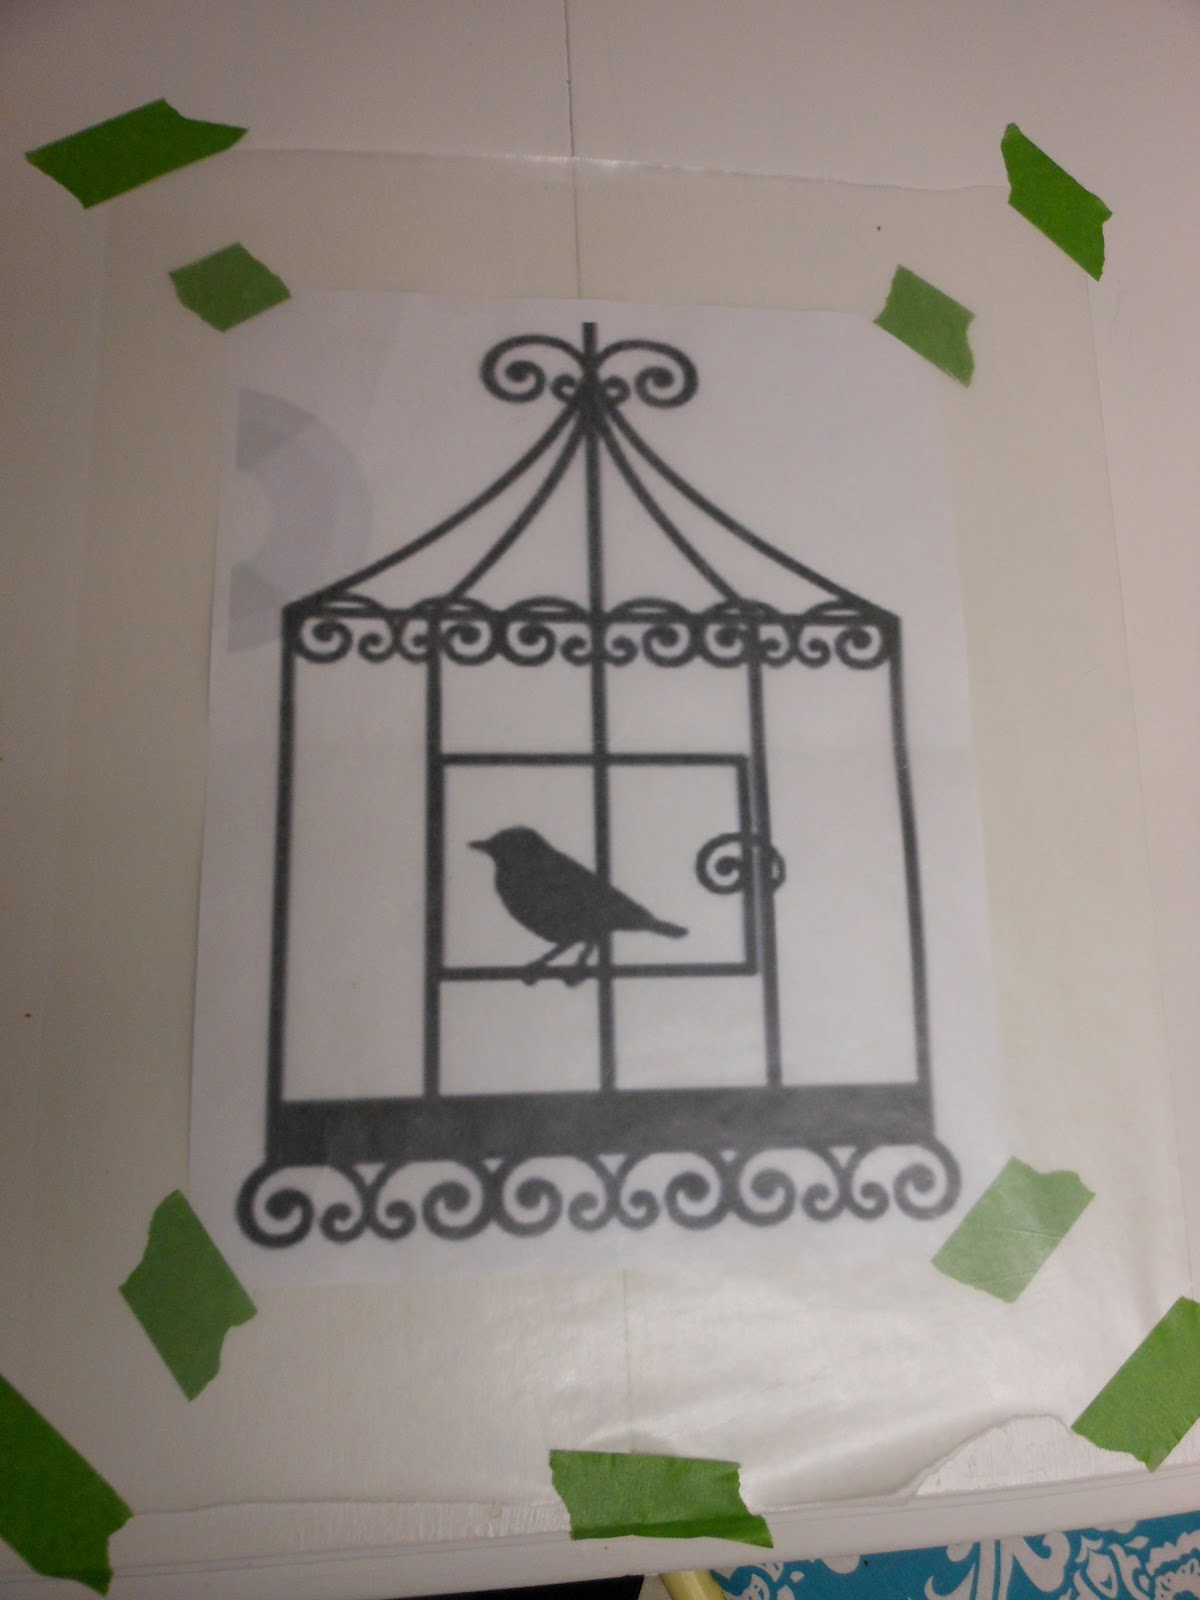
Printed bird cage images 
(I just did a Google search and stretched them to 8.5"x11", it's okay if they're blurry, so long as you can make out the shapes)
These were mine:


Step 1:
Cut out your fabric.  I cut mine into 12" by 12" squares because I wanted to border them in fabric to fit my pillow forms.

Step 2:
On your work surface (a.k.a. my kitchen table), use painter's tape to affix things in this order:
First: Bird cage graphic
Second: Wax paper
Third: Fabric (make sure the birdcage is in the center of the fabric square)
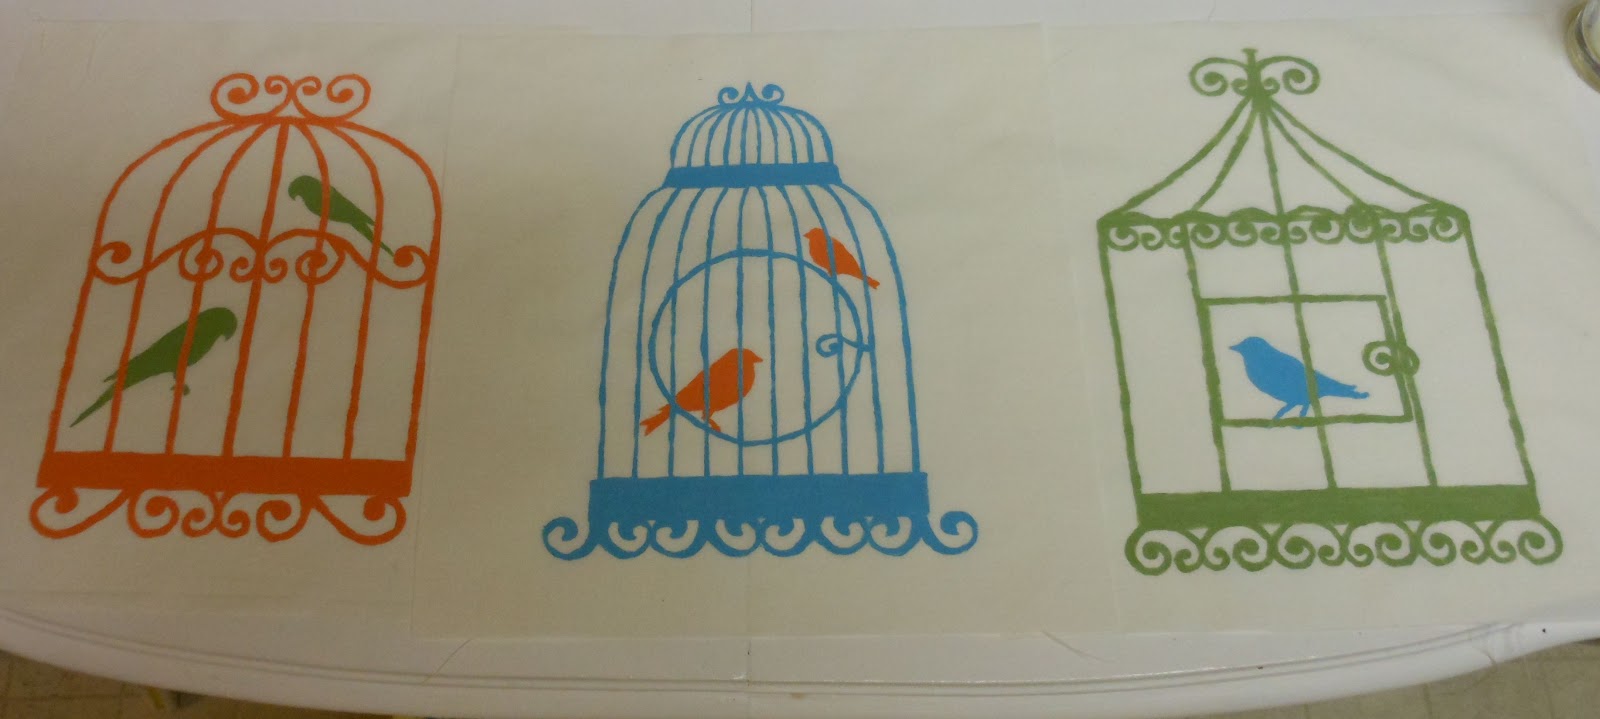


Step 3:
Paint away!  This brought me back to the joy of high school art class (shout out to the best art teacher ever: Mrs. Casey!) I know, I know, technically it's plagiarized work, but it was still fun.


All three finished:


Finally, turn them into pillows!  I bordered mine, and then added trim, but you could just do trim, or no trim...ahhh the possibilities are endless!


(The third pillow is spending some quality time with the seam ripper, because SOMEONE was a moron and miscalculated the borders.)

This fabric painting is kind of addicting, so I have a feeling there's going to be a few more projects with it.

Monday, January 23, 2012

DIY Magnetic Spice Jars


I have previously posted about the woes of apartment living and my lack of storage, and though the complaining makes me feel better, it does not make armoires pop out of thin air.

Although imagine how magical that would be....

One of my problem areas is my kitchen (actually, who am I kidding, the whole apartment is a "problem area" ...of course so are my thighs, but that's a whole new bag of rubberbands).  I like to cook and bake a lot (hence the thighs), but don't have anywhere good to put my herbs.  My sister has one of those magnetic spice racks that hangs on your wall, and I have always lusted after it.  However, due to my affinity for wall art, there is no wall space for such an item.  And they're expensive (at least in my view).

So on an online crafting quest, I saw someone who had put them on their refrigerator.  Genius.  And a major space saver.  I found these little storage containers at Jo-Ann's, and got them on sale for around $0.50 apiece.

You will also need the following:


Spice jars (washed and dried, of course)
Scrapbook paper
Magnets
Label maker (or printed out labels)
Packing tape (or contact paper)
Glue

The nice thing about the jars I bought is that the tops came with window cling-esque labels, a.k.a. free templates.  I traced the label on the reverse of the scrapbook paper, and then cut out slightly inside the line.

After that, I made my labels.  I used a label maker I already had (you can get them at Wal-Mart for ~$5), because I love that sort of retro vibe it has.


The next step was cutting out the tape (this is where contact paper would have been easier).  Anyway, genius me thinks, oh! I'll put down saran wrap on my lap desk and then put the packing tape on that so it won't get any fuzzies (or Thor hair) on it.  Well once I traced my 9 circles, I discovered that yes, my tape was fuzz-free, but it was also securely adhered to my saran wrap. Whoops. So, I scrap that and decide to just tape to my lap desk.  Much better.  I traced slightly outside the label, so there would be tape extending beyond my paper.


Cut just inside the line, and center(ish) it over a paper circle.


Stick on to lid, tightly adhering all edges.


Add labels...


Now the fun part's done.

Next, glue the magnets onto the bottom of the jars (I used Loc-Tite indoor safe glue)


Here's where I ran into another problem.  My magnets stuck out too far on the bottom, so when I filled the jars with spices, they promptly fell off the fridge. After a short bout of swearing, stomping my feet and pouting I came up with a quick fix...I stuck a piece of foam tape under the magnet on the bottom side of the jar.


But if I make any more...I am definitely going with magnets that cover the whole bottom of the jar.


Oh, and in case you're wondering, yes, Thor helped.  As he does with ALL of my crafts.


Friday, January 13, 2012

Owl (and a few of his friends) Pillows

I took a little vacation from blogging, life, etc., which is why you haven't heard anything from me.  I wish I could say I took a break from crafting too, but that would be a lie.  I'm a sewing addict.  I just bought $60 worth of clearance fabrics at Jo-Ann's.  Could I afford it? Nope.  Do I know what I'm going to do with it? Nope.  Have I even removed it from the plastic bag? Nope.

But to make up for my slackerish ways, I'm posting a craft of epic proportions. And a pattern for it.  Yes, you've forgiven me already, haven't you?

Especially when you see this cuteness...


Can I get a collective awwwwwwwwww?
Thanks.

The directions/pattern below are for the owl pillow specifically, but I'll post some pictures at the end of other creatures I made using the same general pattern.

Supplies
Owl Pattern (which is here)
1 yd. of 60"ish polar fleece (bright pink)
1/4 yd. contrasting fleece (light pink)
Various felt sheets (I used navy sparkle, royal blue, green, black, white and yellow)
Fun trims/embellishments (optional, I used white lace ruffle for the belly and top of the head)

Step 1
Cut out all pattern pieces, and assemble the owl body pattern like so:
Hint: Match up the letters (i.e. A butts up with A; B to B; etc.)

Once your pattern is assembled, you'll need to cut 2 from your main fabric, but cut 1/2" outside the pattern for a seam allowance.
Followed by 2 of each circle, 2 wings (noticing a trend here?), etc. from your various fabrics and felt.
However, only one beak is necessary.  I mean, you can cut two if you feel like it, or have OCD, or whatever.

Step 2: The Eyes
Now layer the eye circles on top of each other (largest on the bottom...sort of like my body shape, get it? HA) using the above picture as reference.  I then stuck a dab of glue in the middle to hold each one in place while I sewed the edge, and I would recommend doing that.
Tip: it is helpful to glue one layer on top of another and then sew it before adding the next layer. Seriously, trust me on this.

Step 3: Assemblage
Using ONE of your owl body pieces, begin assembling the face, wings and belly (if you're doing that).
I did the lace belly first, then the beak, then eyes, and wings as the last bit.  Remeber to stay a little more than 1/2" away from the edge with the eyes (it is okay if the wings go a little over, as my pattern making skills are not yet perfect).  Glue (optional) and sew everything in place.

Step 4: Sew and stuff
Put your body pieces right side together and stitch the edge using a 1/2" seam allowance (or whatever you decided on, rebellious ones), leaving an opening at the bottom for stuffing.
Stuff and whipstitch opening closed.

Here are the variations I did as well (my nephew with his bear and the penguin I made for my best friend Krystanne.  She's 22. We're friends because she appreciates when I make her stuffies).


Here's to an even craftier 2012!